Introduction
In this article, we’ll run through how clients can seamlessly integrate their Slack workspace to share their Reward Gateway content automatically.
How To Enable the Slack Integration
To enable the Slack integration, clients need to follow these steps:
1. Log into Reward Manager
2. Go to the Integration Dashboard, and search for Slack under the Explore Integrations tab
3. Select the integration and turn it On using the toggle button in the top right-hand side
4. Follow instructions for the setup
Initial Setup
> Give the Slack integration a meaningful name to reflect what it does so that it is easier to spot on the Integration Dashboard.
Authorize the Slack Workspace
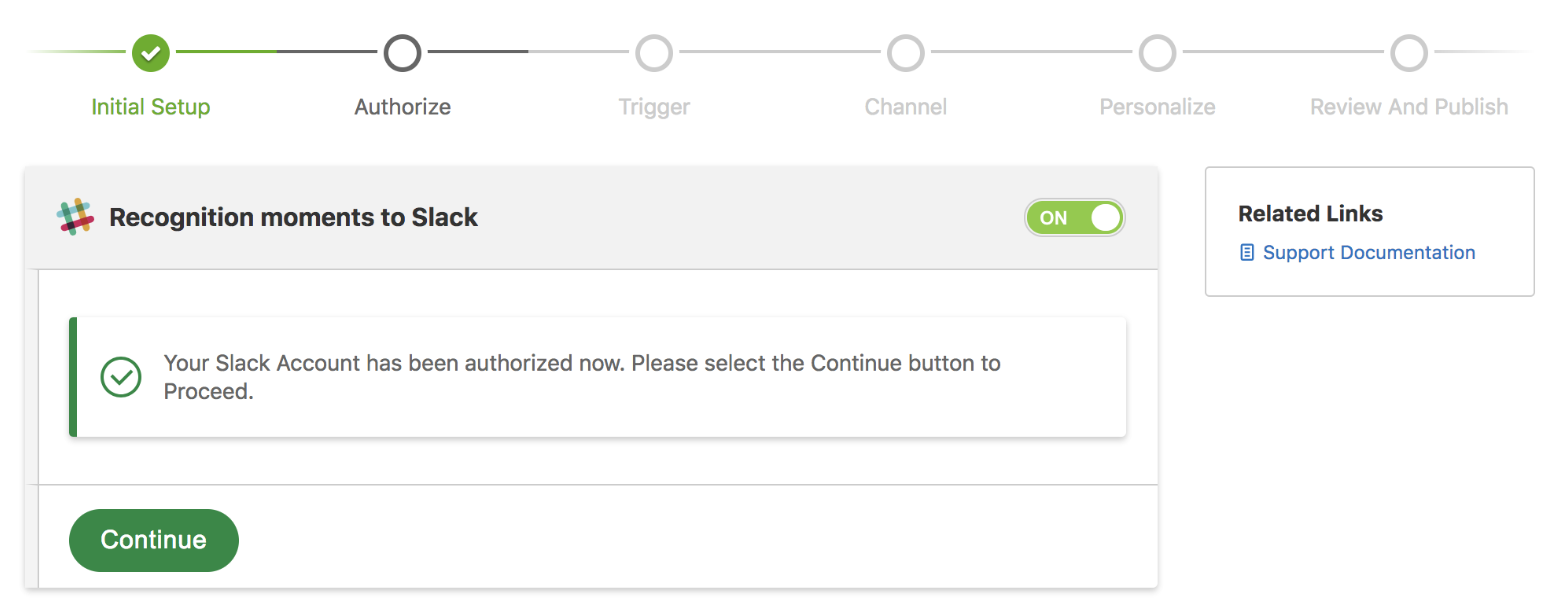
Before Reward Gateway can access a Slack Workspace, clients must first grant access.
> To do this, click the Authorize your Slack Account button.
This will redirect the client to the respective Slack Workspace and require them to Authorize access for Reward Gateway as shown below.
At this stage, Reward Gateway would install a Slack Bot on the client's Slack workspace that allows it to interact with their Slack channels.
Please note, that this might require the user authorizing the application to have Slack Administration privileges.
Once authorized, the client will be automatically returned to the Slack Integrations page where they can continue with the setup.

Select a Trigger
Next, a trigger needs selecting. A trigger is an event on the Reward Gateway system that the client would like to get notified about on their Slack workspace.
A list of available triggers will be displayed.
> Select the required trigger
Select a Channel
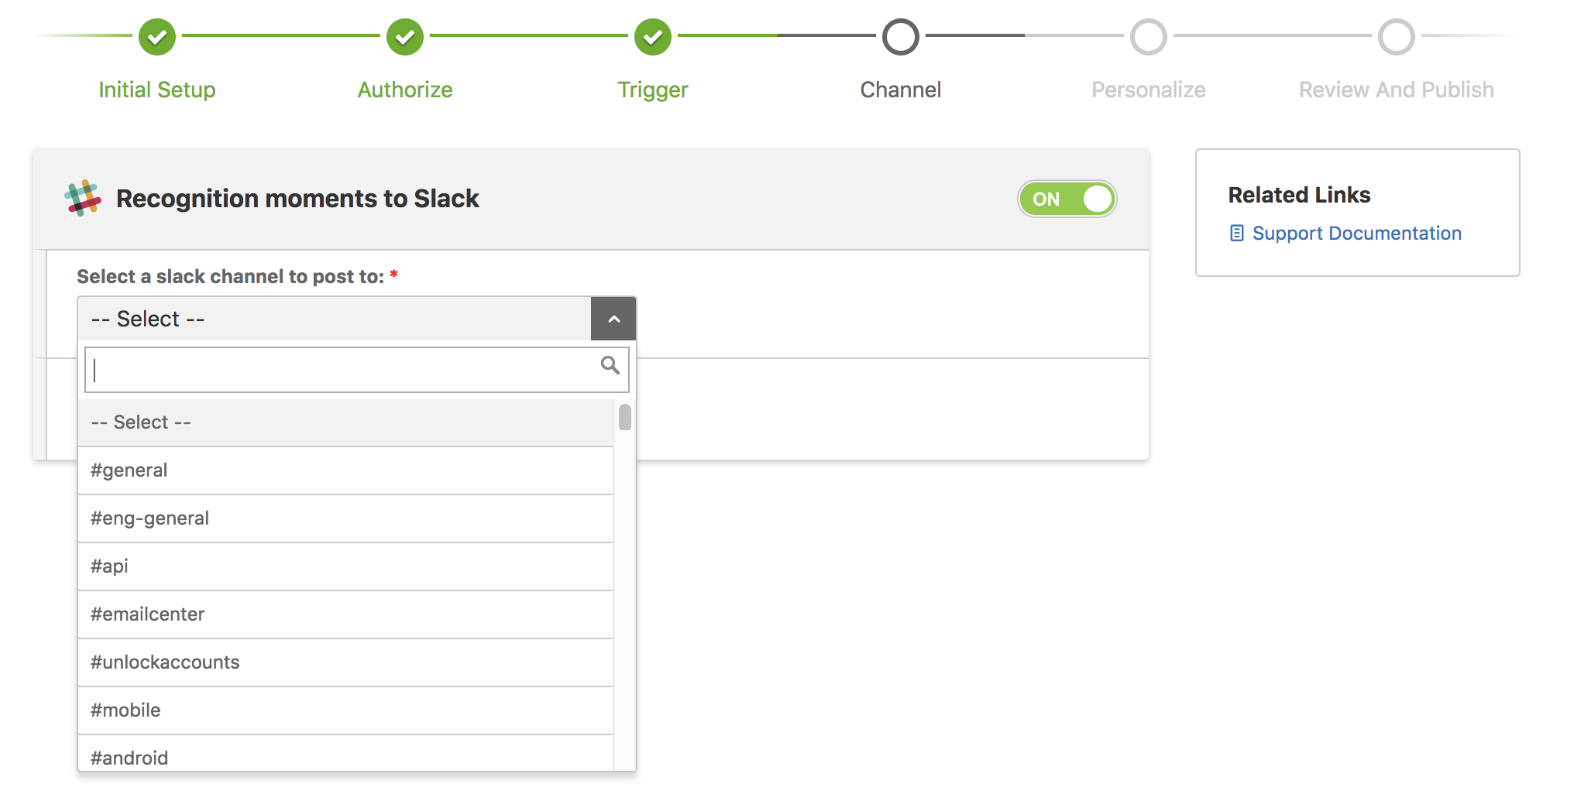
In this step, clients choose a Slack Channel that the notifications are going to be sent to. A list of all available Slack channels will be shown on the dropdown available in this step. Please note, any private channels will not be visible due to restrictions of the Slack API.
 Personalize the Slack Bot
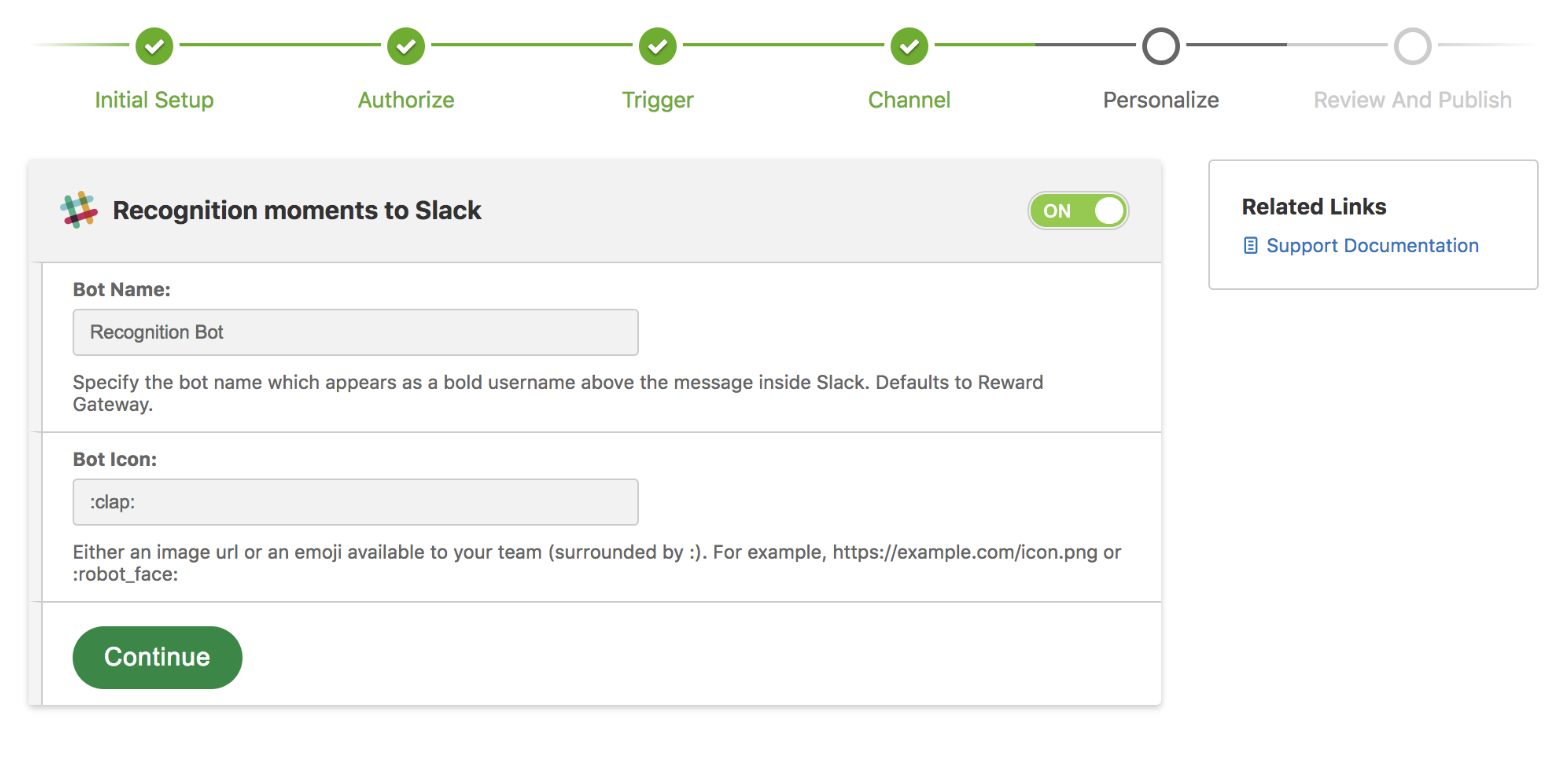
By default, all notifications will be sent to the client's Slack channels as Reward Gateway and include the Reward Gateway Brand Logo. However, in this step, it can be customized to the client.
> Give the Bot a Bot Name and also give it a Bot Icon through a public image URL or even a Slack Emoji!
 Review and Publish
1. Review the setup and, if happy with the integration details shown on screen, click Publish to make the integration active.
2. Select the Send a test Slack message button to send a test message to the selected channel to see if the connection is working as expected.
Please note, this would not be an actual notification but a sample notification that is sent at this point.
How To Disable a Slack Integration
> A client can disable the Slack Integration by toggling the ON/OFF option in the respective Slack Integration, or can also use the Revoke Access button to stop allowing Reward Gateway access to their Slack Workspace.
Both of these options will stop the active integration.

Comments
0 comments
Please sign in to leave a comment.